How to Foam Roll (Videos)
If you missed our previous article, What is Foam Rolling and SMR, click here before continuing. If your ready to start self massage with foam rolling then read on. Foam Rolling (FR) can be done before, during or after workouts, it can also be used throughout the day on an as need basis. There are a few key things to remember when foam rolling at these specific times.
Before a Workout - Foam roll in the beginning of a workout if you have an imbalance, tender areas, adhesions or injuries that need to be addressed. Be sure to follow foam rolling immediately with static and or active stretching, then mobility work before moving into movement prep and then the workout. This can take 10 - 40+ minutes depending on the severity of your situation and analysis performed by your coach so be patient. Every stretch & movement you do, you want to practice good clean patterns with proper breathing. Finish your workout with a little more foam rolling of targeted areas and then static stretching. This can also be done later in the day or throughout if your pressed for time.
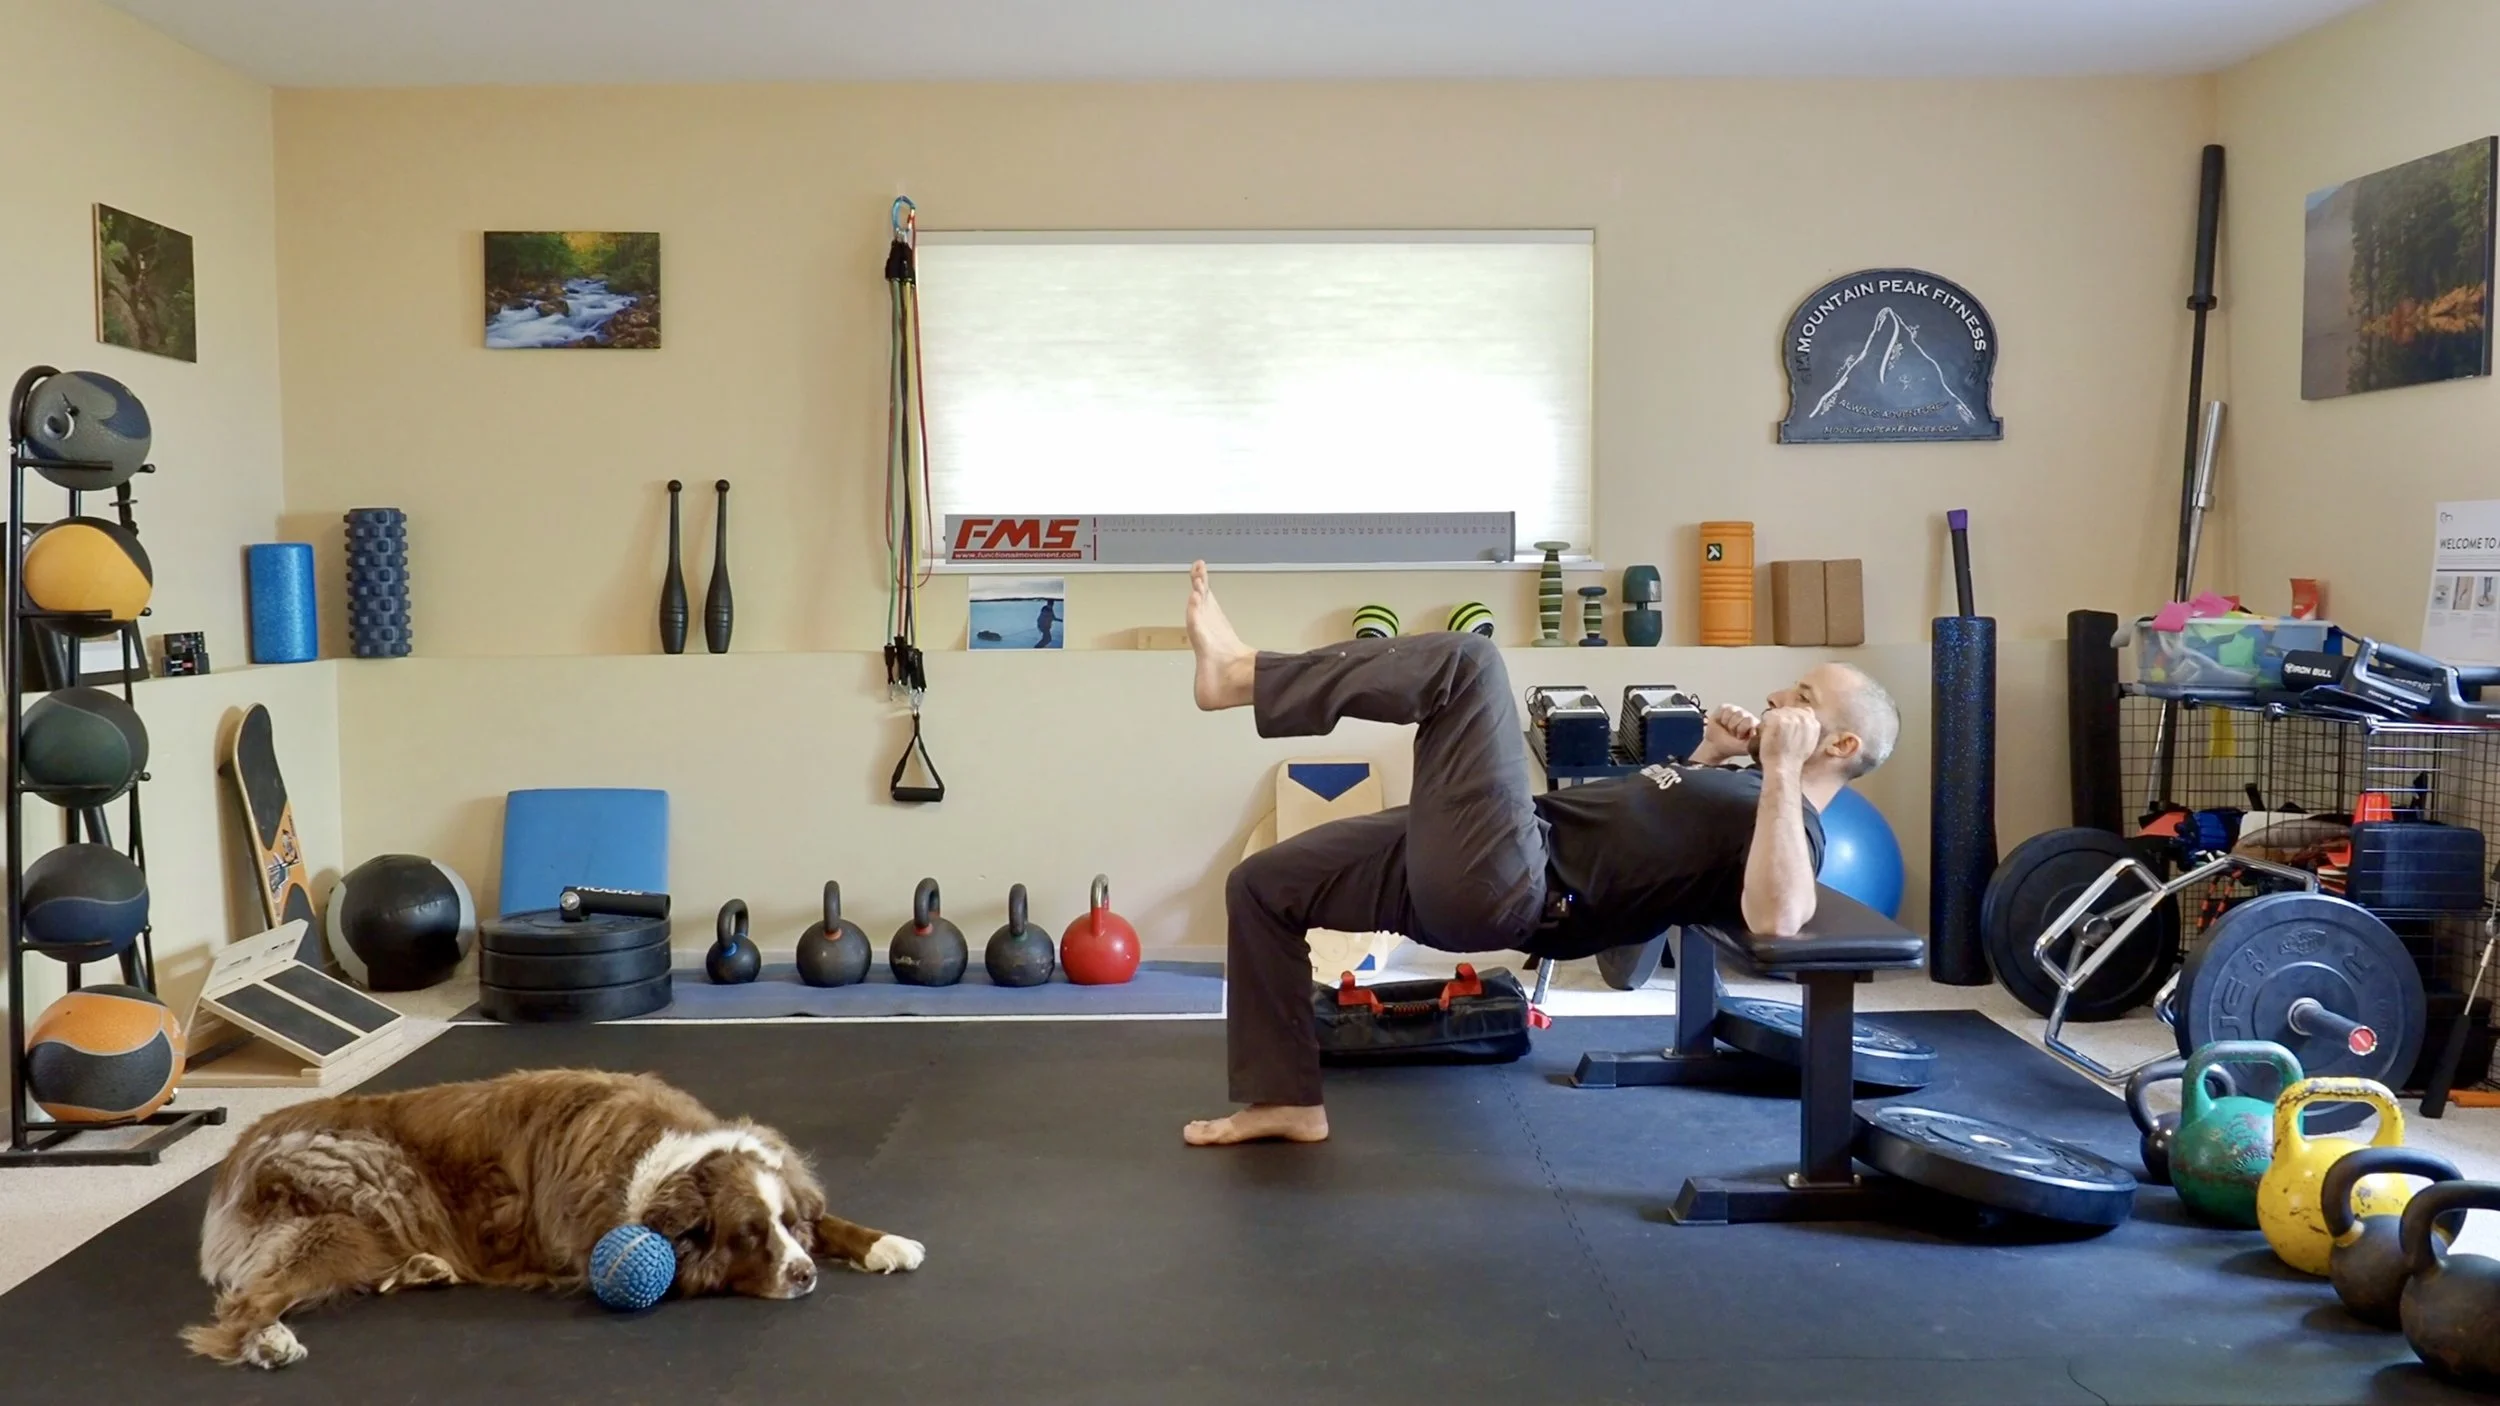
During a Workout - When foam rolling during your workout, do so if something doesn't feel right such as tenderness in a joint or increased tension to a muscle. An example can be that you jumped right into a workout without a warmup and you have been sitting all day. You are now experiencing slight anterior knee pain when squatting or kneeling. Here you would stop, foam roll both quads & calves, actively stretch your calves, hip flexors, glutes and quads, then ensure your glutes are firing with a single leg floor bridge (ex. 1x10-15 reps each side). From here you can get back into your squats and practice good squatting form, repeating as necessary. If you can't get your glutes to fire and your hamstrings are dominant (cramping), continue working on quad & hip flexor mobility and reach out to us.
End of Workout - Foam rolling at the end of a workout helps begin the recovery process by massaging any tender points, while bringing fresh blood and oxygen into the area. Be sure to follow it up with static stretching or Yoga, which is best at this time.
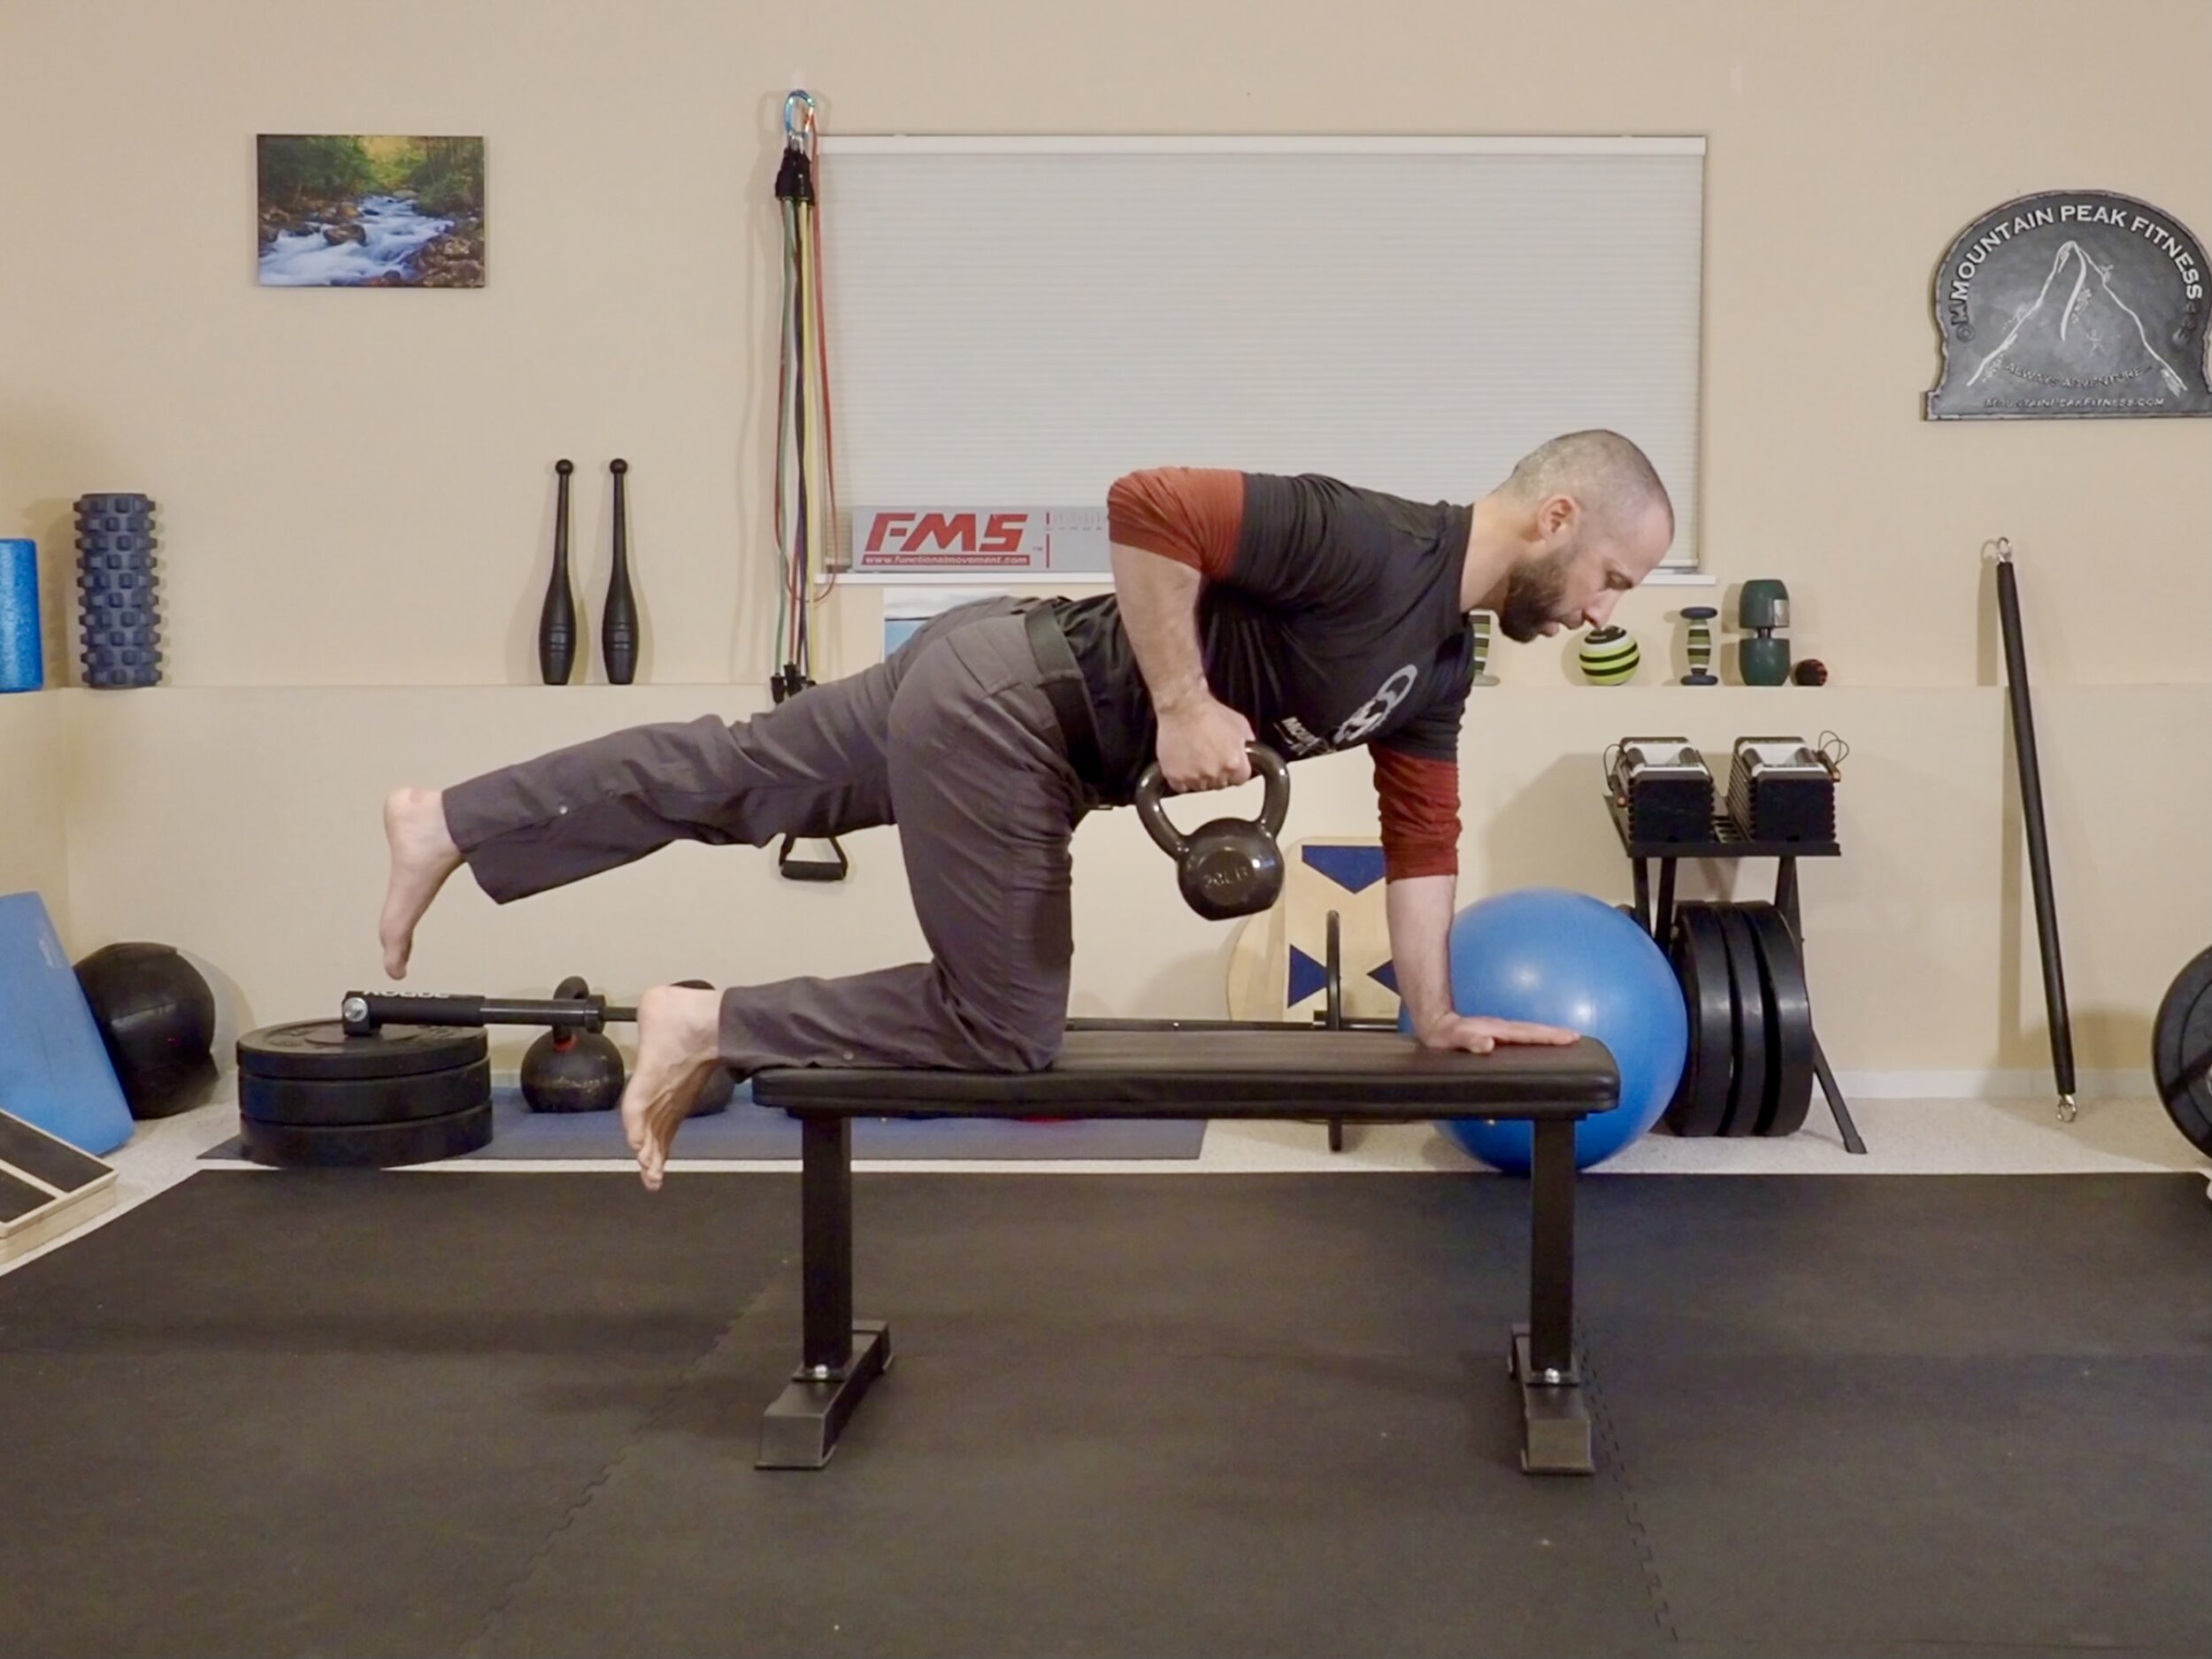
Throughout the Day - Foam roll during the day to help combat the stresses of sitting for prolonged periods of time during your work day. The human body was not designed to sit for an excessive amount of time, it was designed for movement and a deep resting squat position. Be sure to follow up FR of targeted areas with a few fundamental movement patterns such as crawling, rolling, stand-ups, pushups to planks to downward dogs, a little jog, sprinting, hike or walk around the block. Seasoned athletes & clients can practice their Kettlebell Turkish Get-Up. In the end, just be sure to move!
Keys to Foam Rolling
Be relaxed, keep your core engaged by drawing your navel inward and breathe. You will be in difficult positions at times where your upper-body will be highly involved in bracing. If you feel fatigue or can’t hold your position, move on to the next area, then go back. Over time you will develop the necessary strength and technique for foam rolling, just keep at it.
Keep more of your weight on the foam roller to be more effective.
Don’t let your low back arch or midsection sag when your rolling your quads, IT band, adductors, etc. Keep your abdominals drawn in as you would for any exercise.
Breathe throughout the foam rolling session. There will be a tendency to hold your breath, especially when areas are more painful than others. This is counterintuitive. You must breathe to benefit from self massage or stretching.
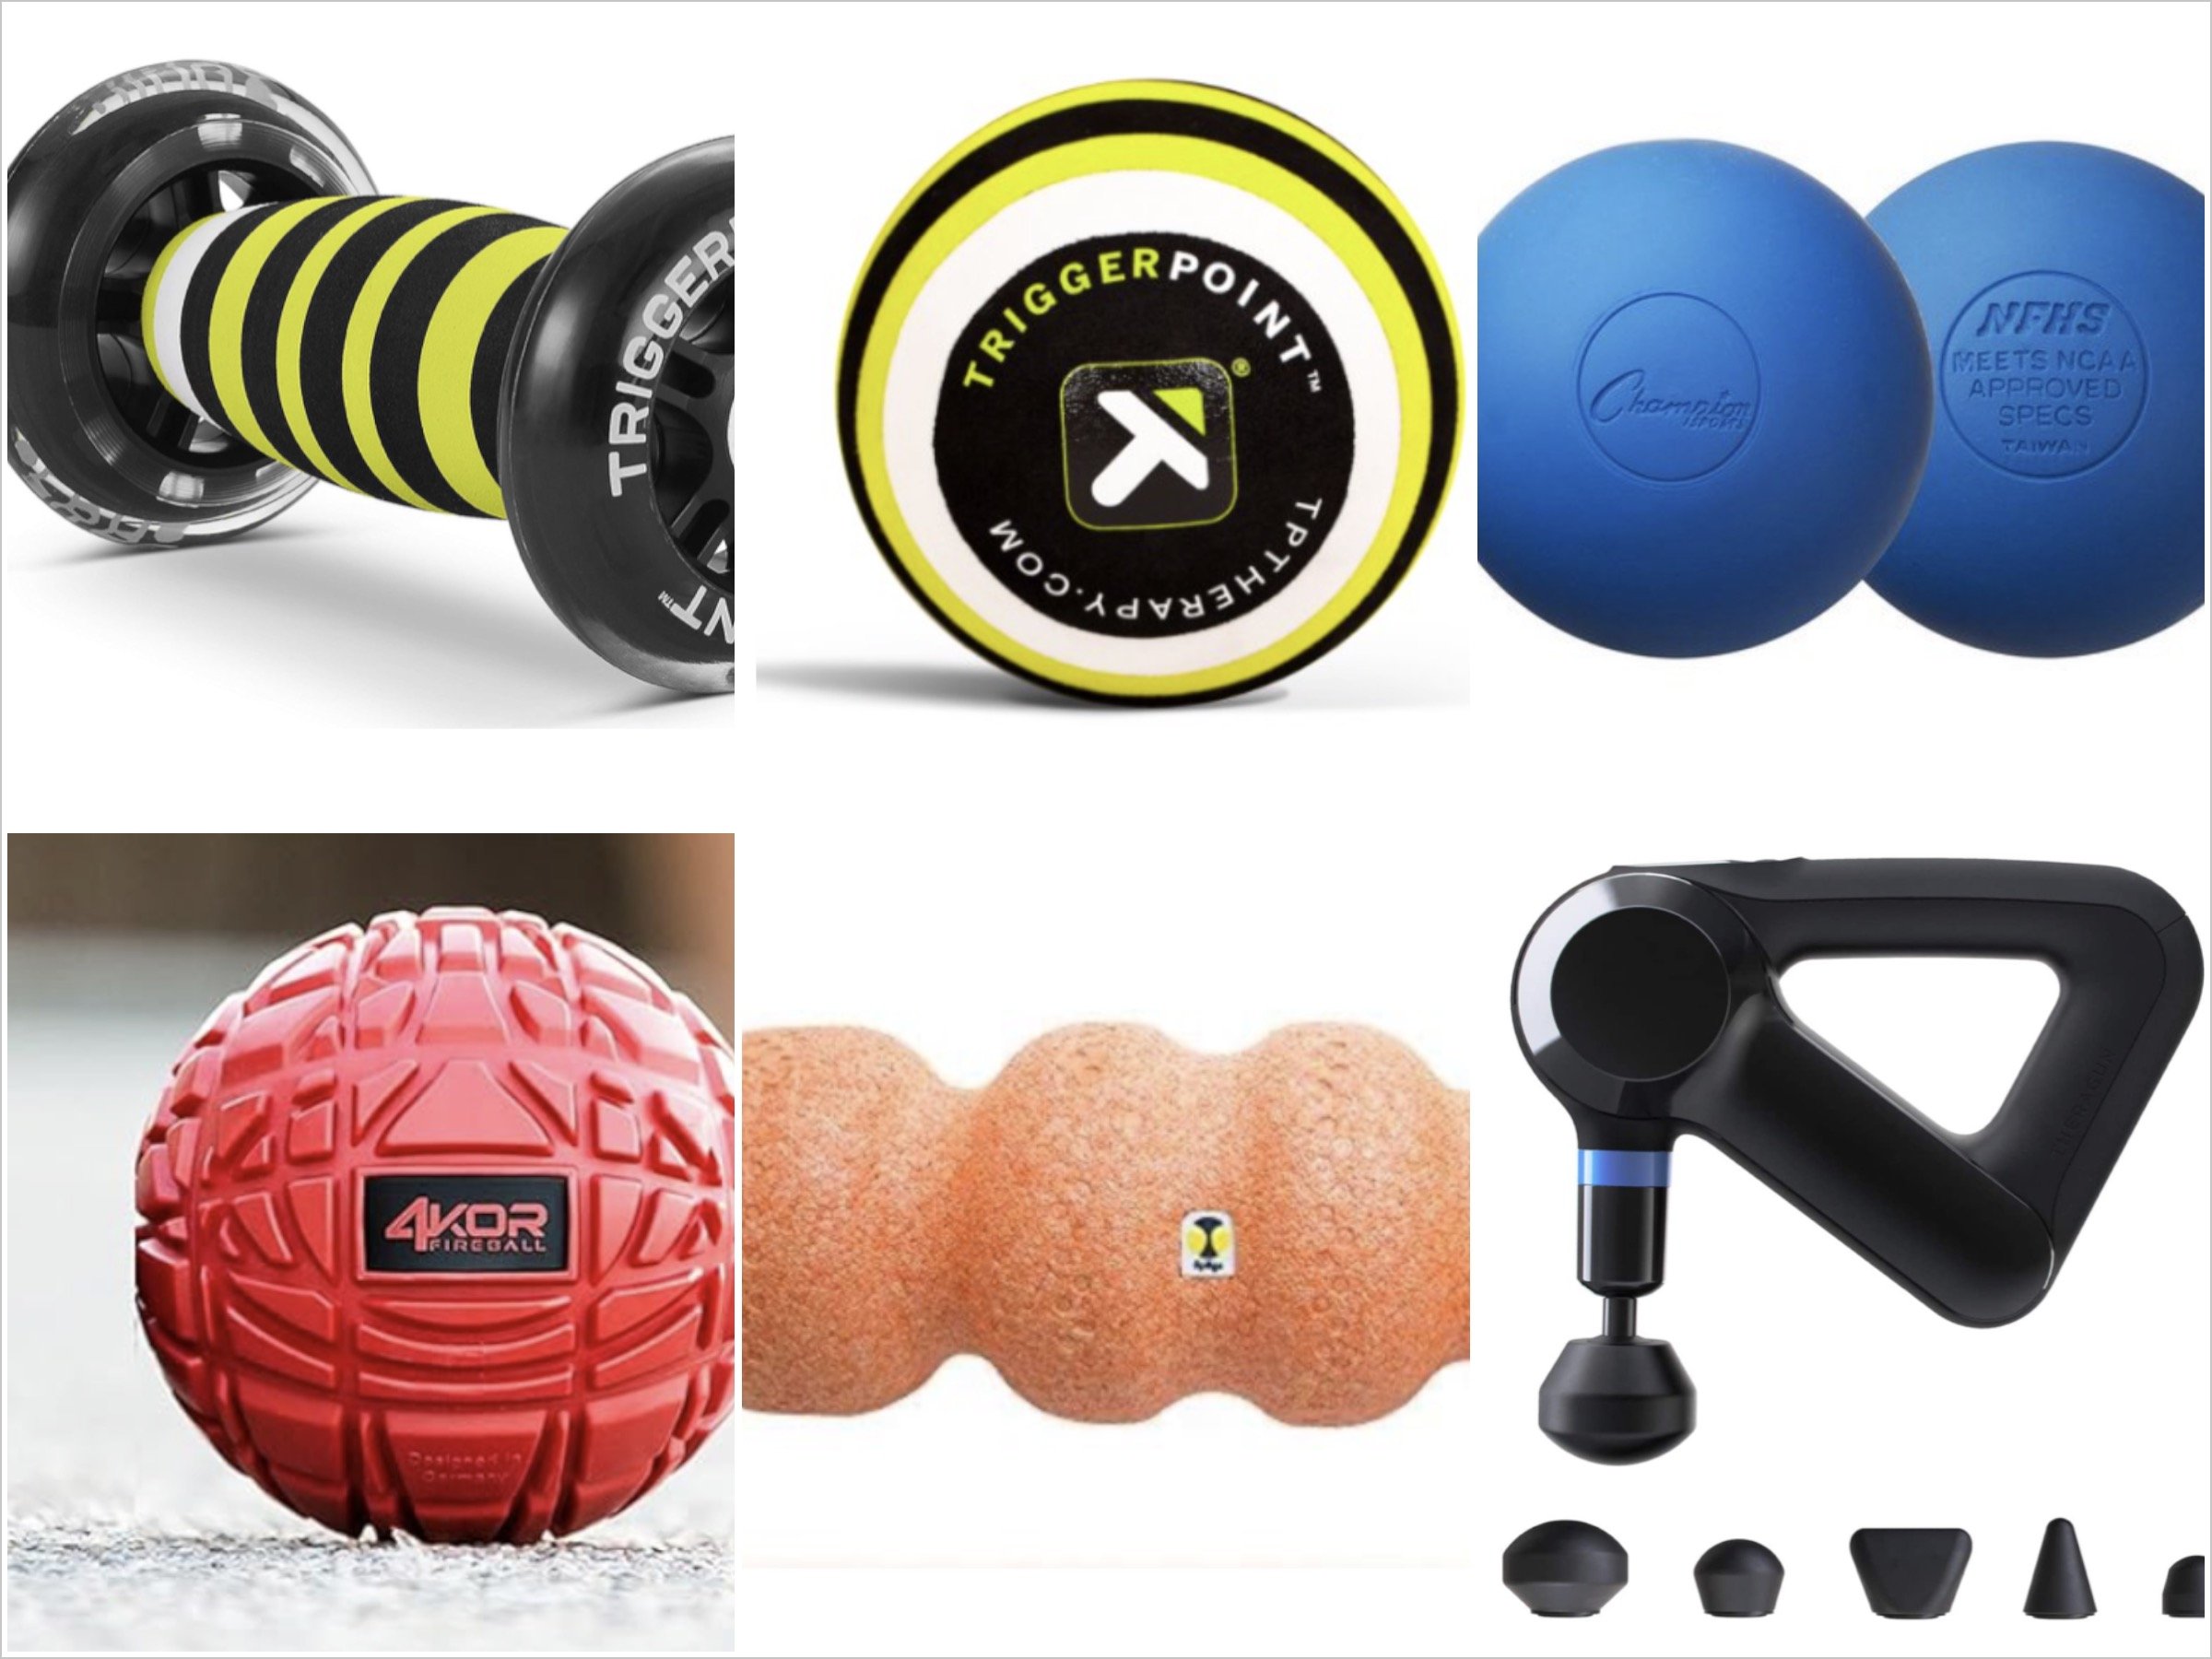
Use a variety of foam rollers & trigger point therapy options. You may want to start with a lower density foam rolling on a tender area and then progress to a higher density foam roller. You can also use a lower density foam roller to aid in recovery from soreness after a hard training day. This is to ensure that you do not over stress the muscle tissue or fascia. Options such as a lacrosse ball, TP 5 Inch Ball, and others, allow you to get deeper into areas a conventional foam roller can’t. For more on Foam Rollers and Massage Tools that we recommend, click here.
When finished foam rolling, be sure to perform specific stretches that will assist in bringing back the proper length-tension relationship of those tissues and joints.
Foam rolling sensitivity can be used as a measurement of health and quality of your tissues and the human movement system. The more sensitive you are, the greater the possibility for an injury or under performance, which in turn leads to a greater need for the proper corrective exercise strategies and strength & conditioning program to be incorporated into your training.
Be sure to address both sides! For example, if your rolling your right quadricep and IT-Band to address an injury or tender points, be sure to roll the other side as well. You can spend less time on that side but it still needs to be addressed. In certain situations the opposing side can be the culprit.
How to Foam Roll
Slowly roll the targeted area up and down, rotating where necessary to identify tender areas for each specific muscle or muscle groups. From here you have a few options:
While foam rolling pause on tender points and hold until the discomfort is reduced by 50-75%. This can take anywhere from 30 - 90+ seconds. You may need to take a short rest between reps but repeat several times for up to 5 total minutes on an area. Breathe!
Roll on the foam roller up and down the full length of the muscle tissue. Being sure to do this slowly and repeating many times or until tenderness subsides 50-75%. We recommend to start with 6-8 complete rolls for each area, each rep lasting 15-30+ seconds. Breathe!
You can spend several minutes on one particular area and up to 60 minutes in total session time foam rolling. When you are first introduced to foam rolling, take your time to learn the right techniques. Lean how to relax into the pressure of the foam roller, adjusting your position to be more direct on tender points and to gain the strength for self support while rolling. Be patient and know that in time, with the proper strength & conditioning program and corrective exercises, the duration of your foam rolling & manual massage sessions will decrease.
Adductors / Inner thigh
Quadriceps
Gluteals & Piriformis
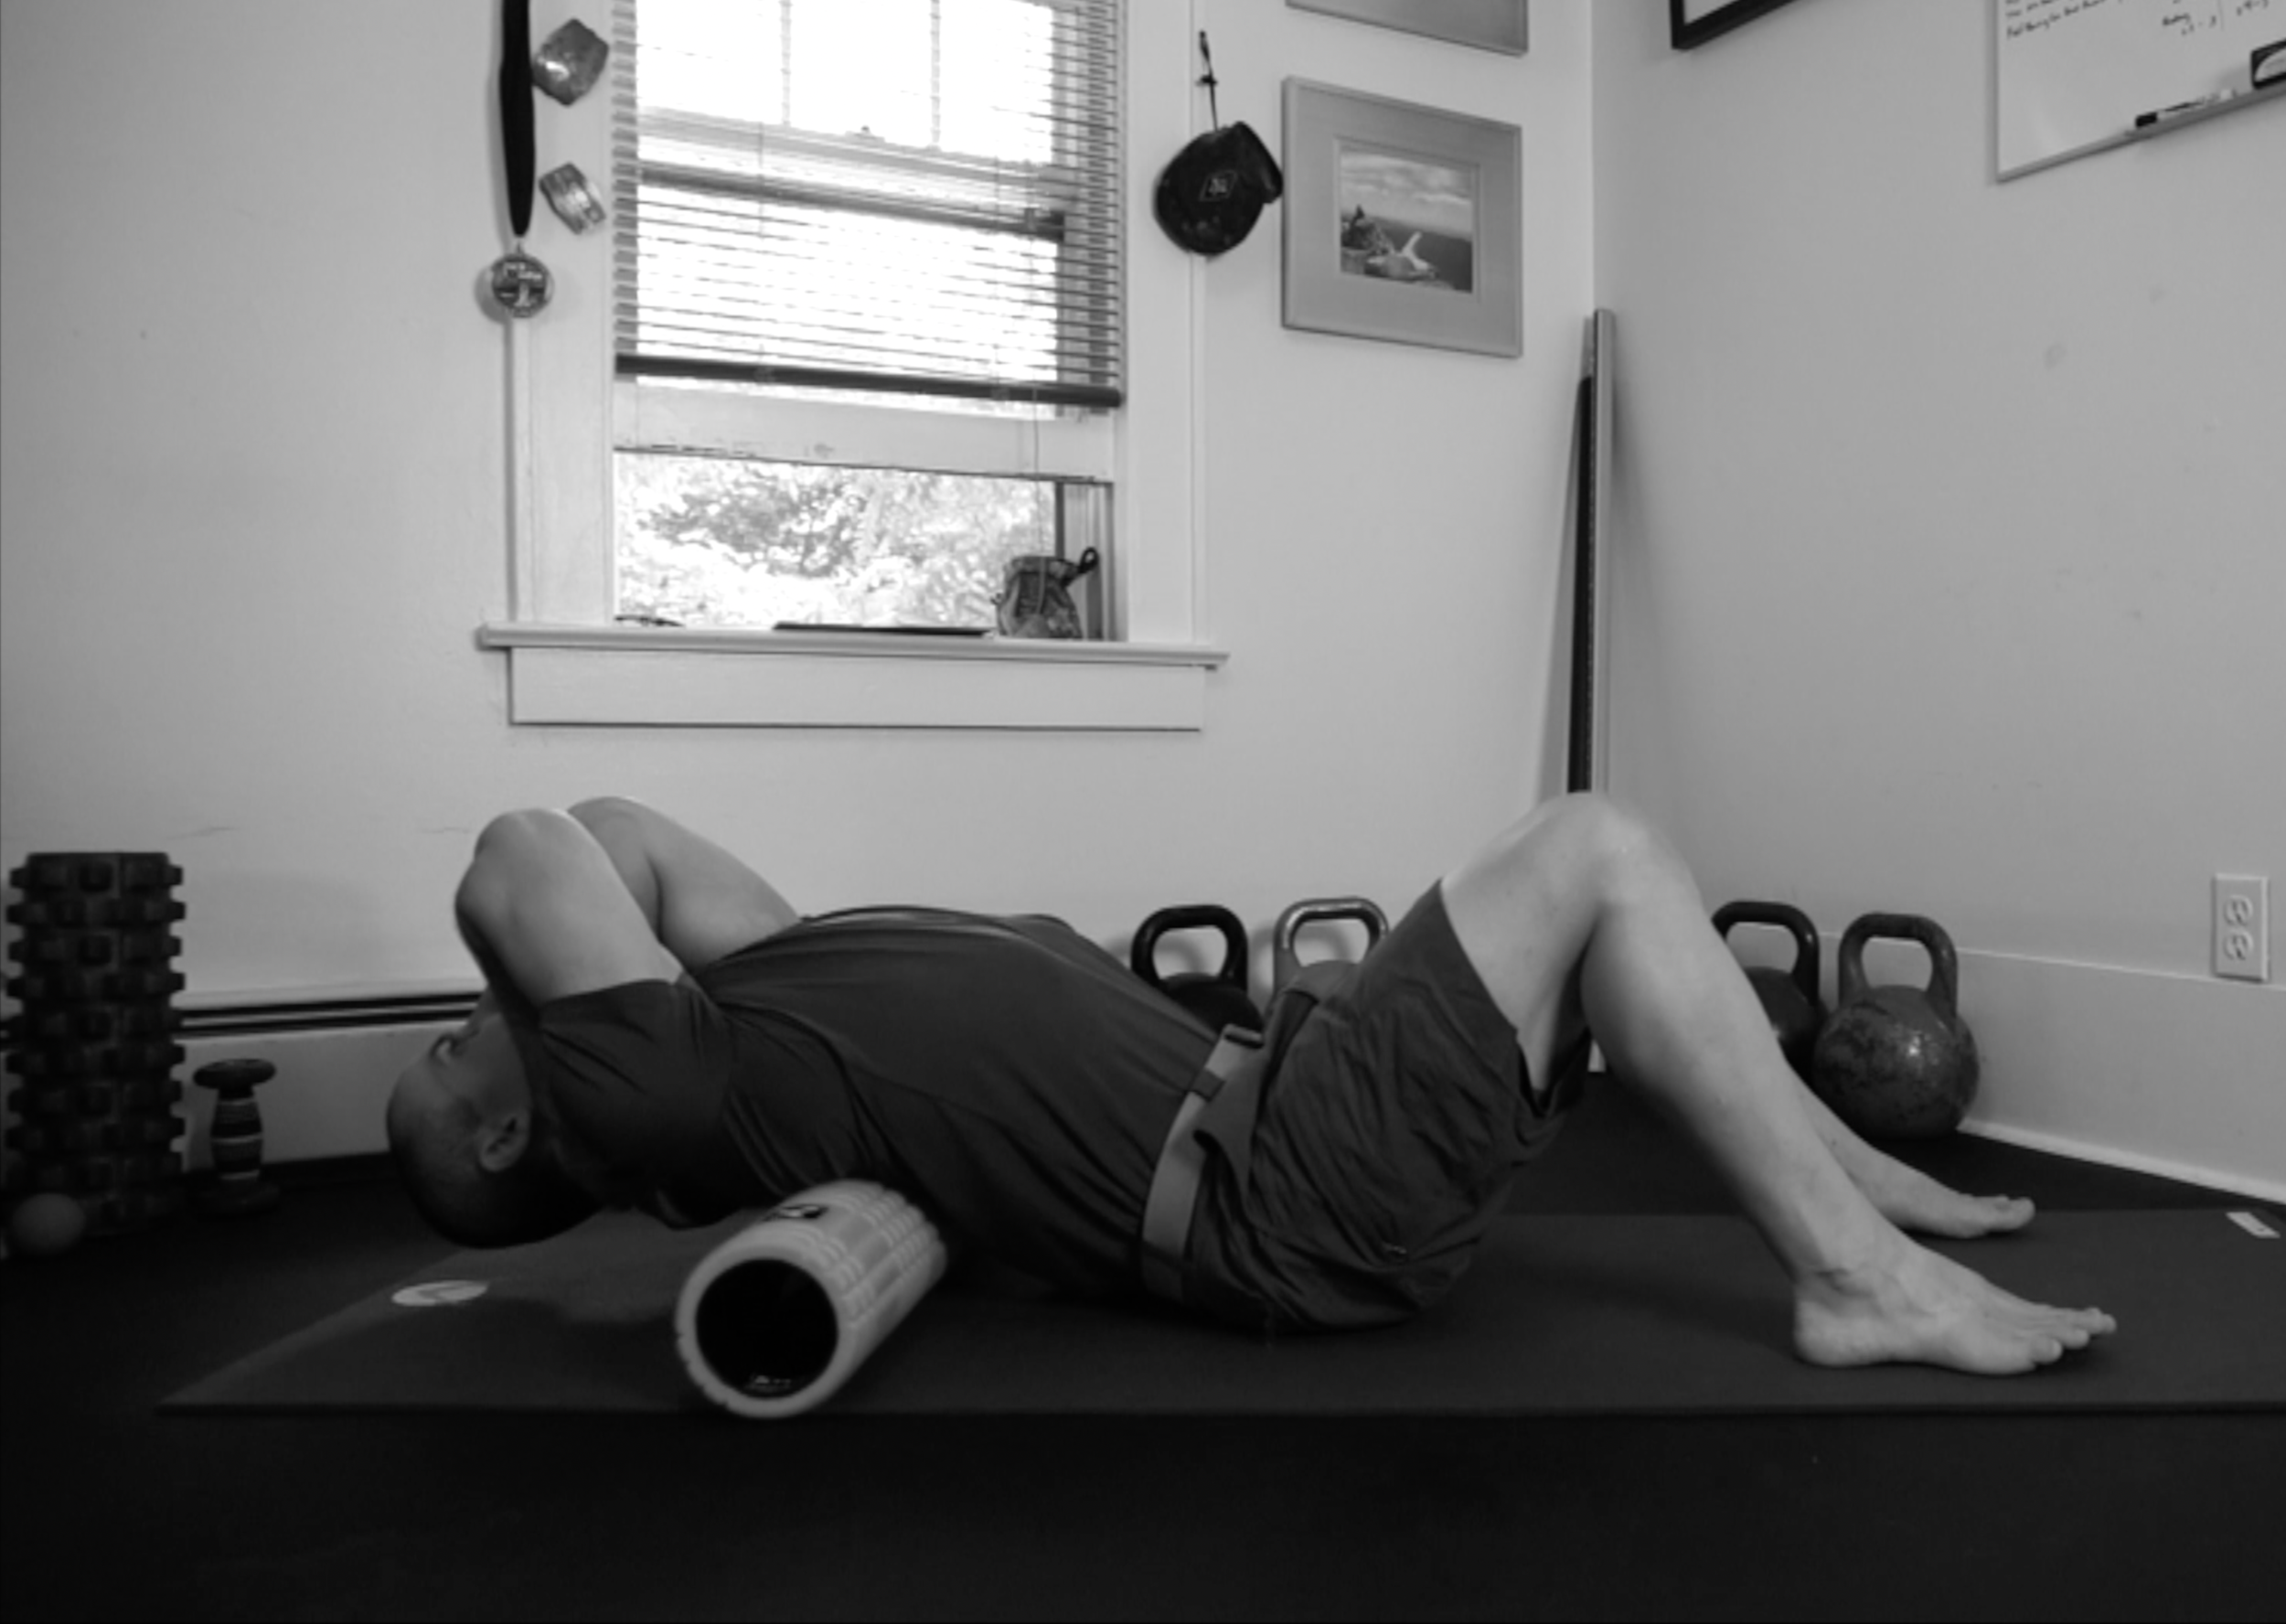
Thoracic Spine
Calves
Peroneals
TFL
IT Band
Latissimus Dorsi
Hamstrings
Anterior Tibialis
Arch of foot with a lacrosse ball.